πŸ–₯️ The "Custom code" widget in the website builder

Newsletter Archive
SendPulse
The "Custom code" widget in the website builder
Caleb Smith

Caleb Smith

Product Marketer


β€œIf you need to add an extra element to your website, such as a calendar widget or a comment system, you can add it using the β€œCustom code” widget.”

Custom code

Adding custom code

You can add an element with HTML, CSS, or JavaScript code you have written or generated using a relevant tool.

To add custom mode to your website, you need to do the following:

  1. Go to the "Websites" section.
  2. Select a website and start editing it.
  3. Choose where you want to add a new element, click "+," and select the "Custom code" widget.
  4. Add your code and save the changes.

Discover how to add a custom code element to your website page in our knowledge base.

Add the "Custom code" widget
Contact settings

Transferring UTM tags when acquiring new students

A UTM tag is a parameter added to a link to track website traffic from its origin. For example, a course landing page link accessed from Google will have the following UTM tags: utm_source=google, utm_medium=organic.

There are two UTM tag storage conditions:

  • Users need to go to your course landing page using a UTM tracking link.
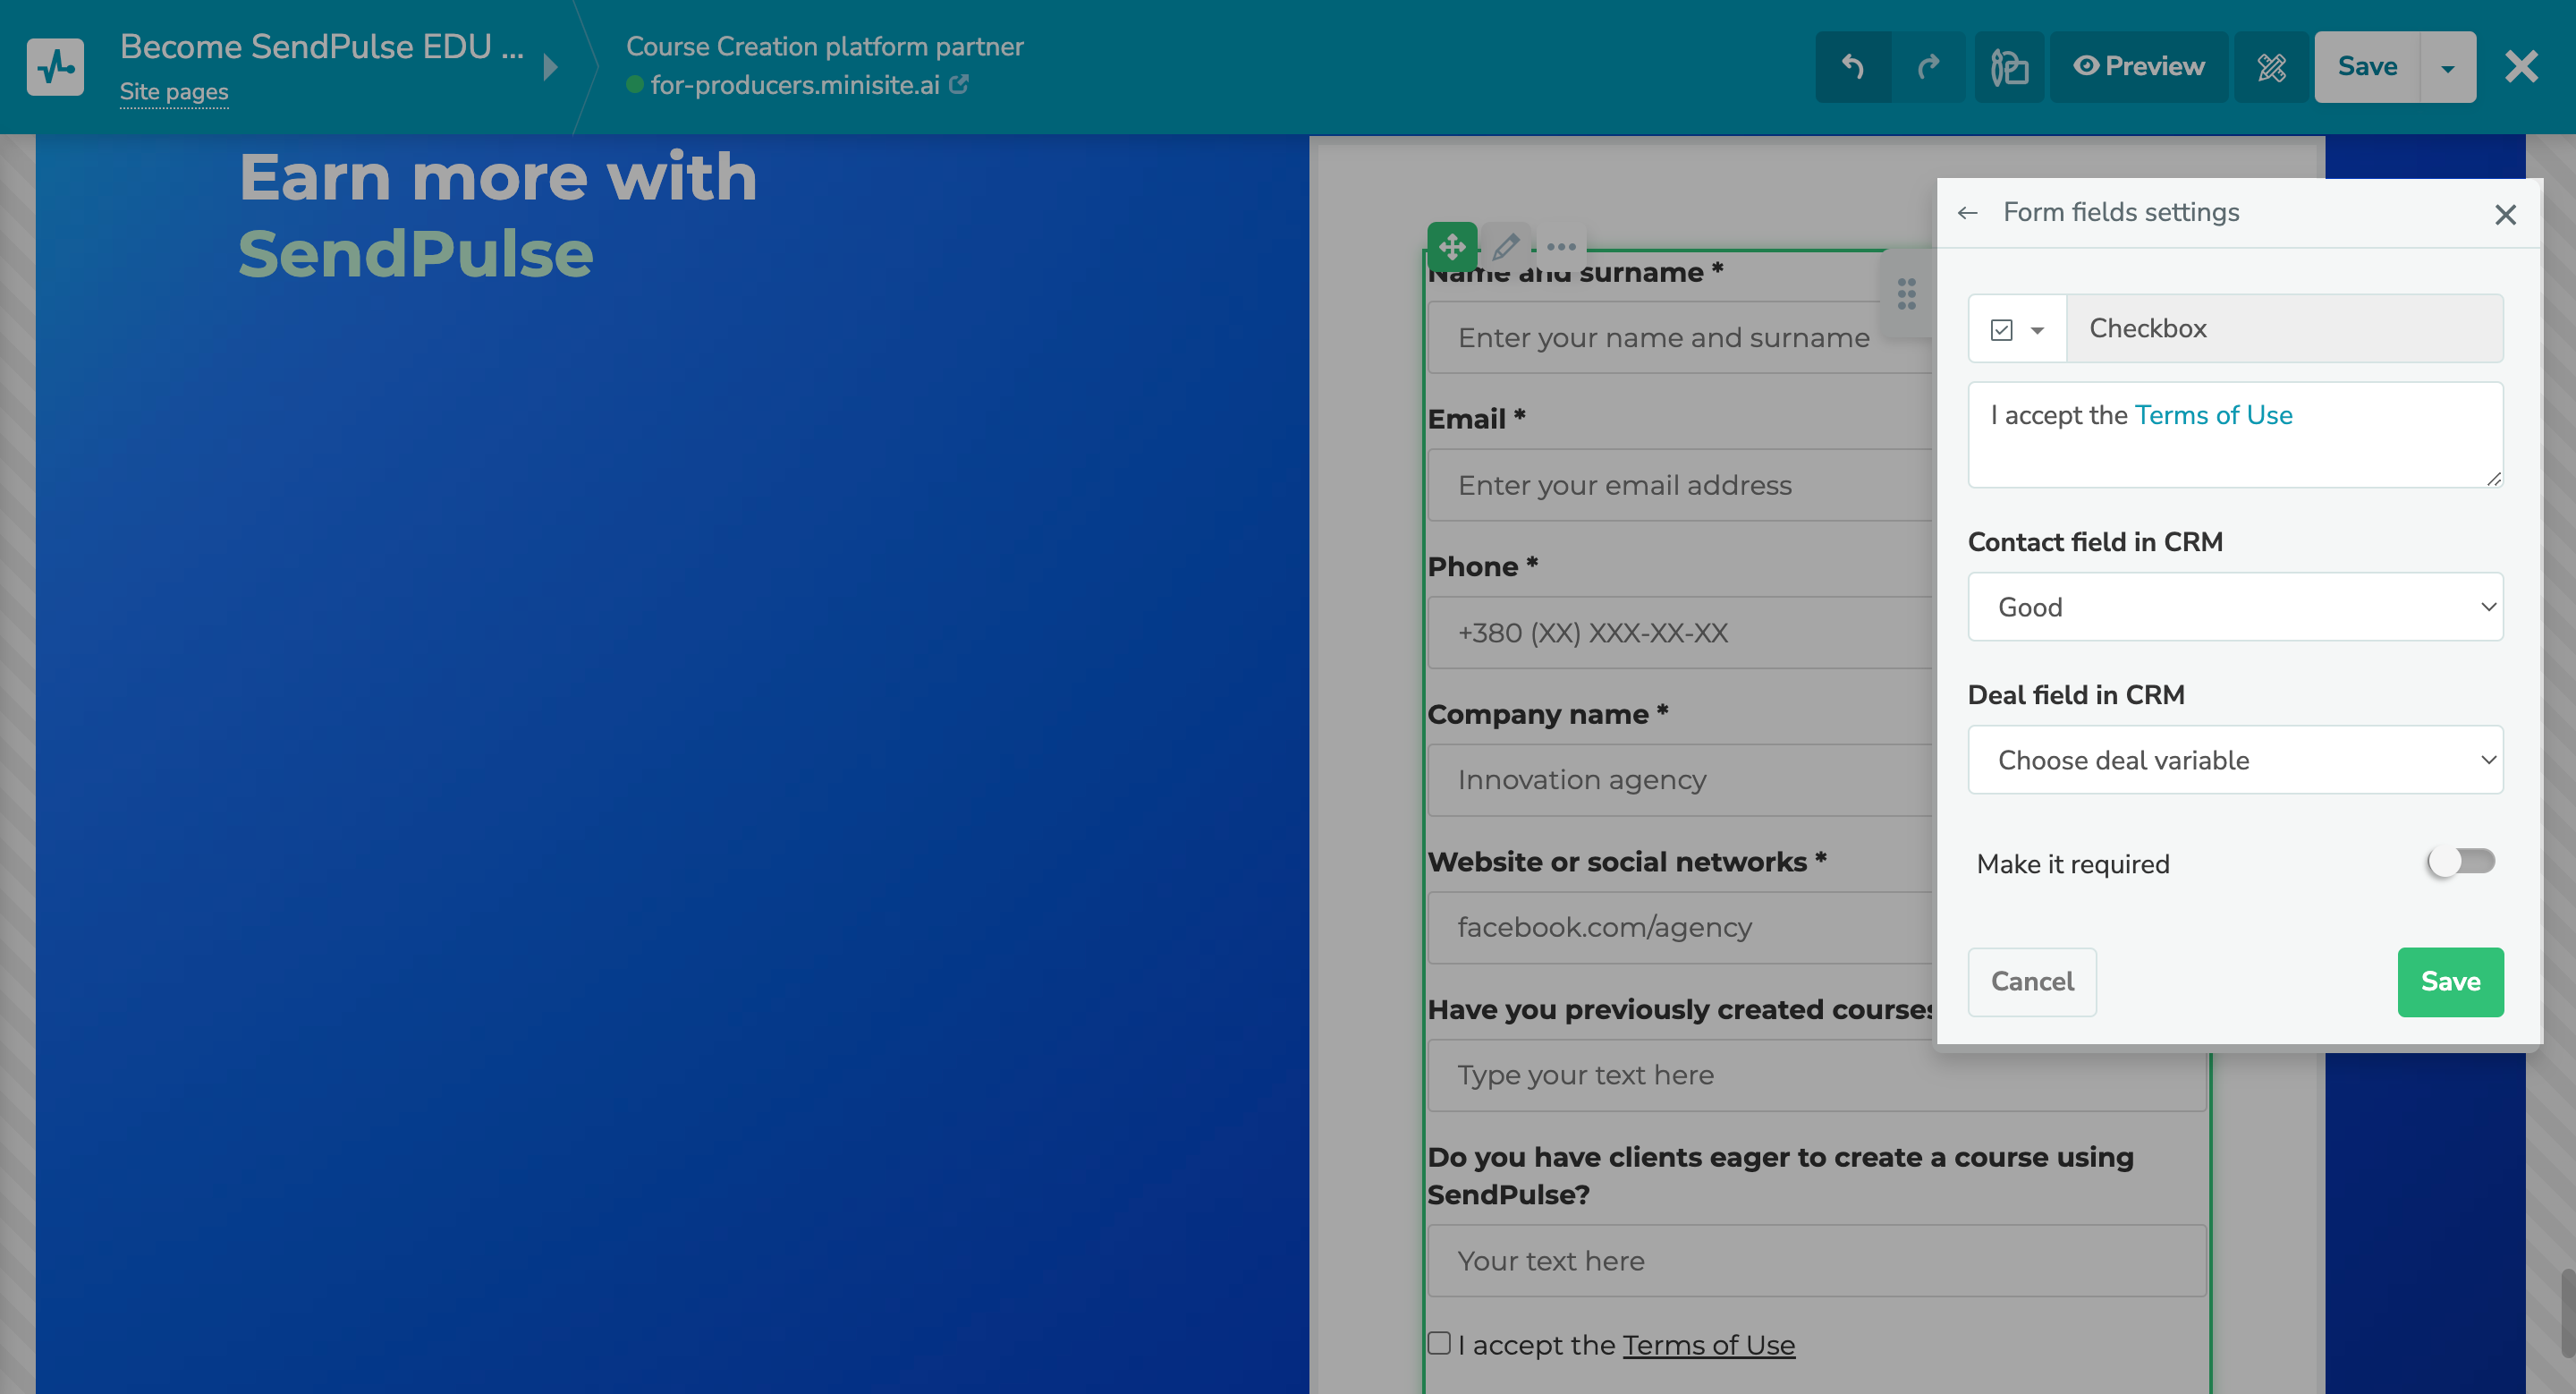
  • Users need to make payments or fill out a registration form on your course landing page.

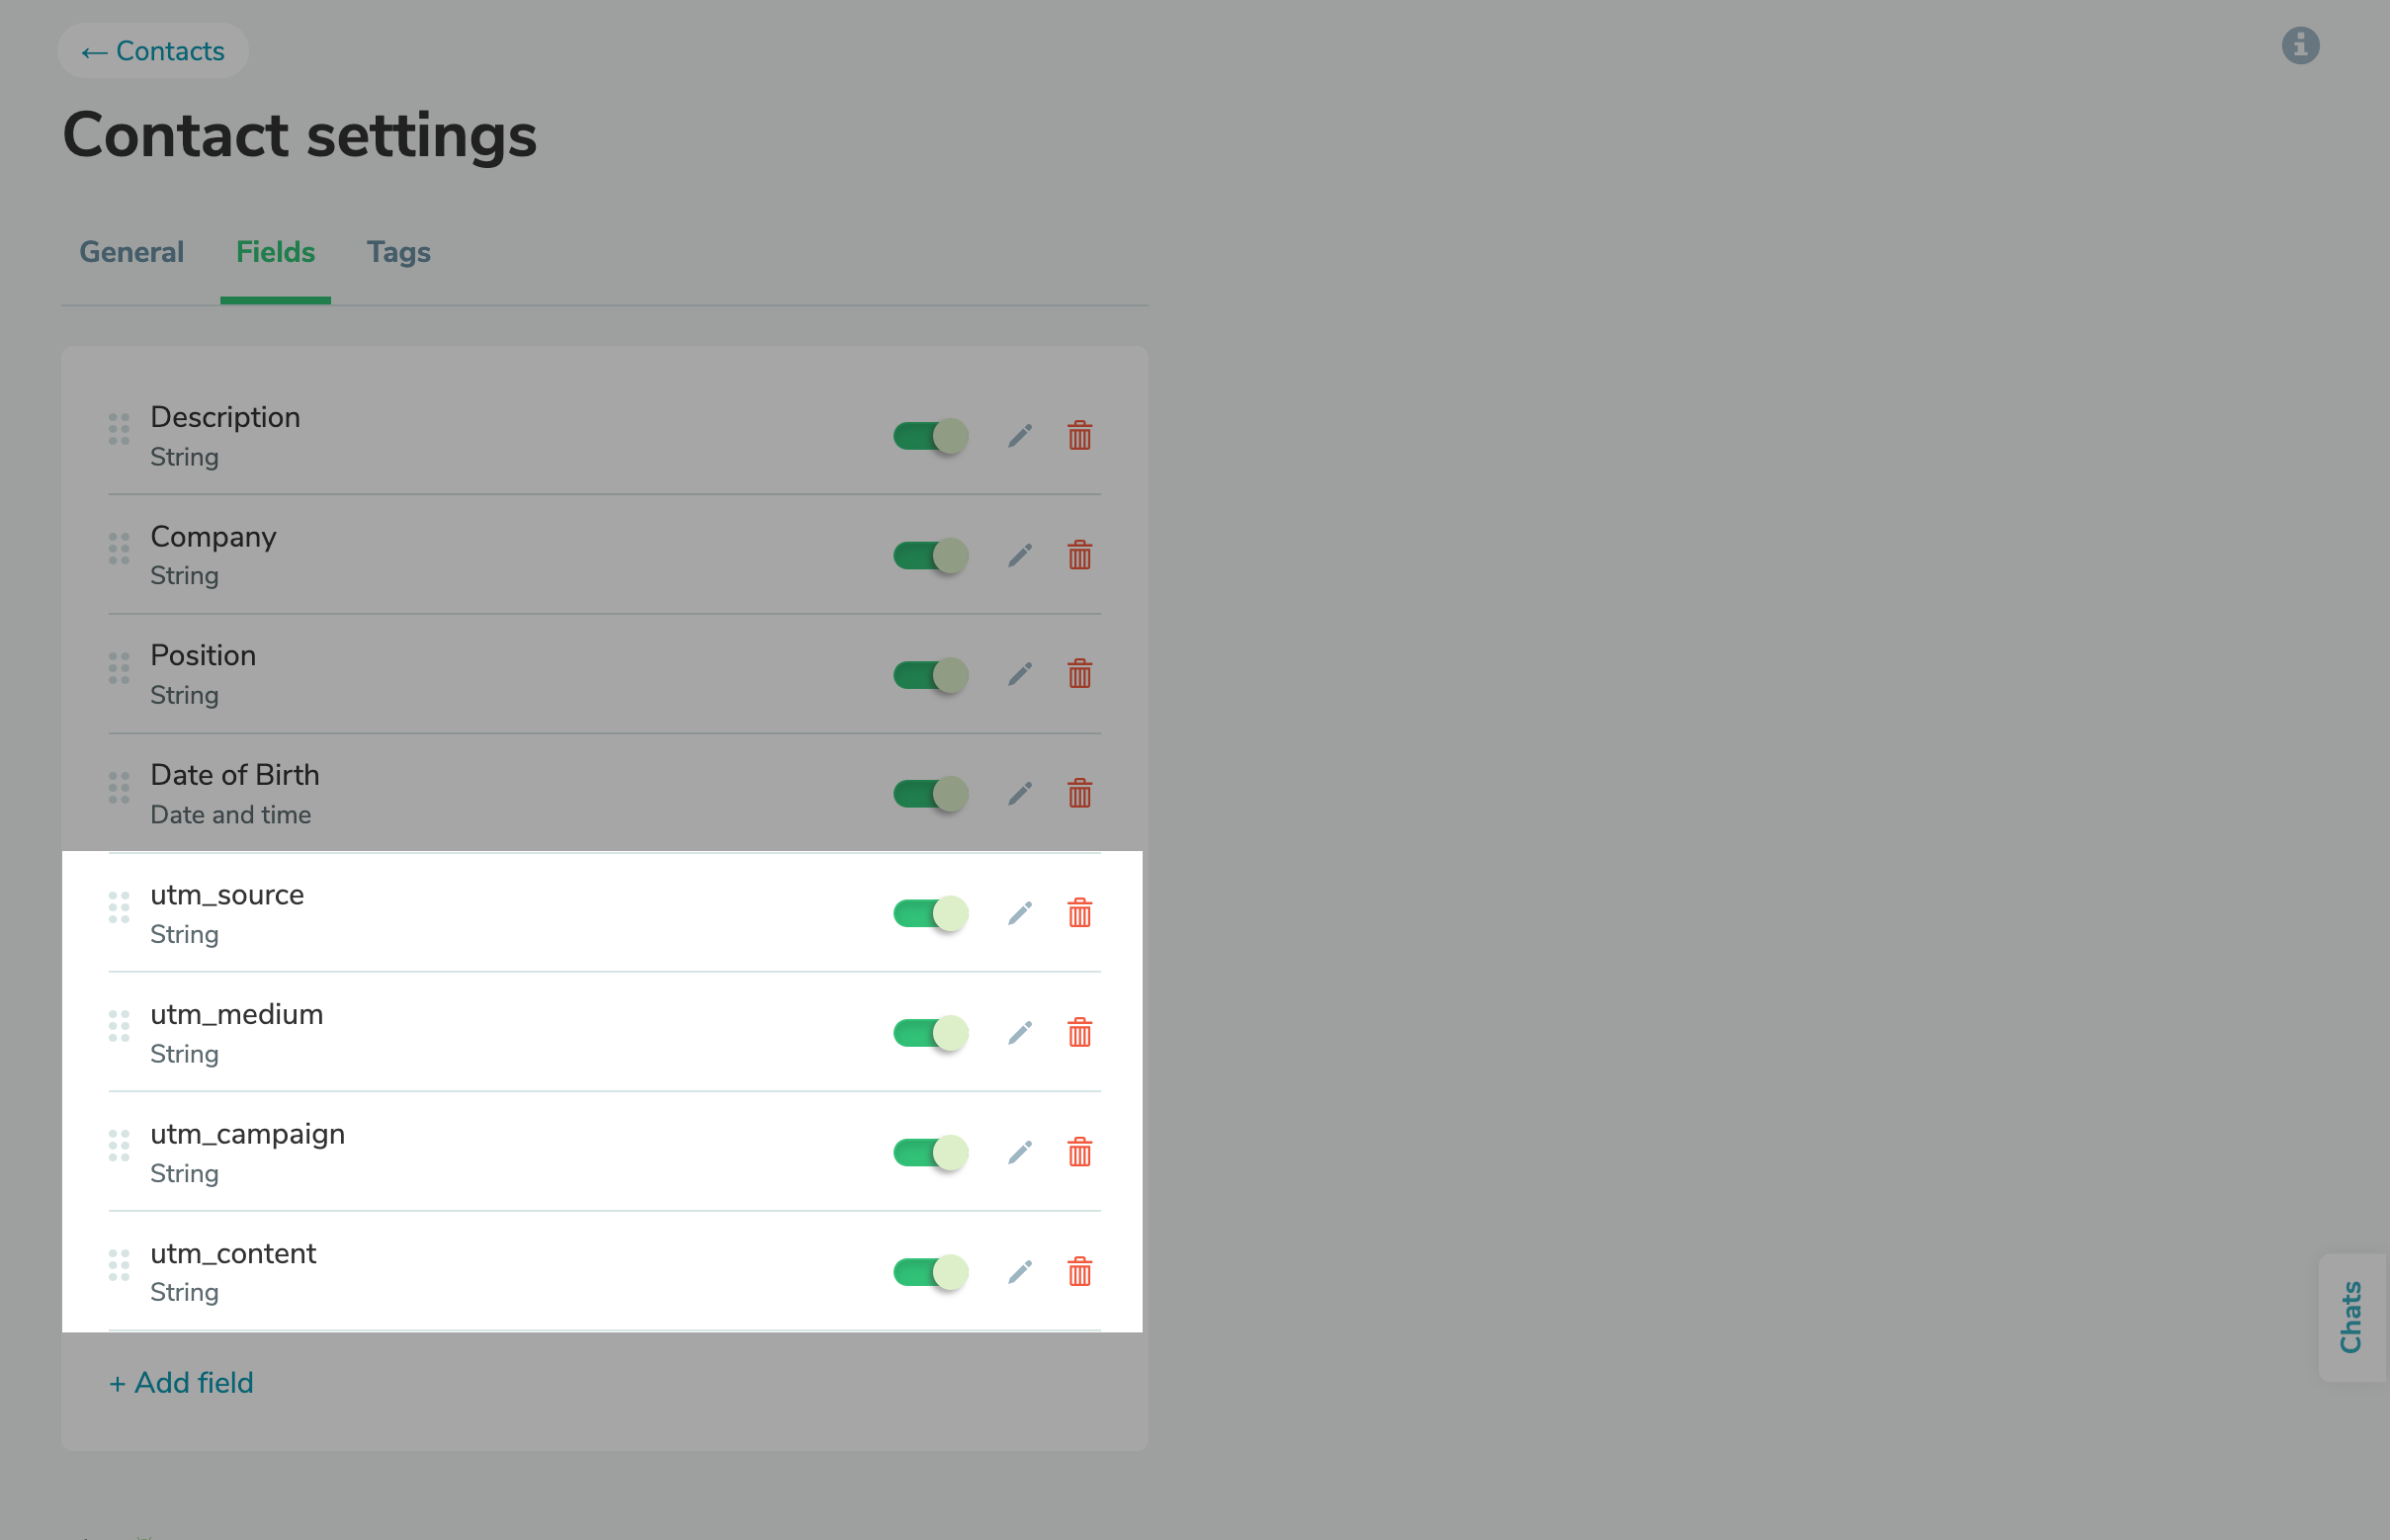
To allow the system to recognize UTM tags and save them, you need to create contact card fields in your CRM system. To do this, add a field of the "String" type for each UTM tag in your contact settings.

Your UTM tags will be automatically saved every time a user visits your course landing page using a UTM link and then fills out a form or makes a payment.

Learn more about how to transfer UTM tags in our knowledge base.

Transfer your UTM tags
Adding links to checkbox names for application or payment forms

Adding links to checkbox names for application or payment forms

Now you can add a checkbox with a link to a licensing agreement or other important document to your application or payment form. To do this, create the "Checkbox" input field, add your link, and select your CRM contact and deal fields.

Try it
icon

If you need help with setup or have any other questions, contact our tech support team β€” we're in touch 24/7.

Best regards, Caleb Smith

sendpulse.com

You received this email because you are a customer of SendPulse.Β 

Unsubscribe

Sent via

SendPulse